How To Make a Custom Box?
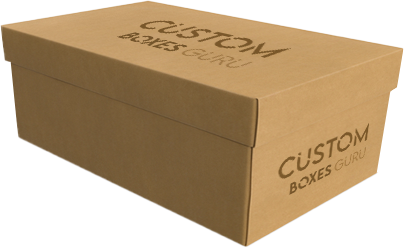
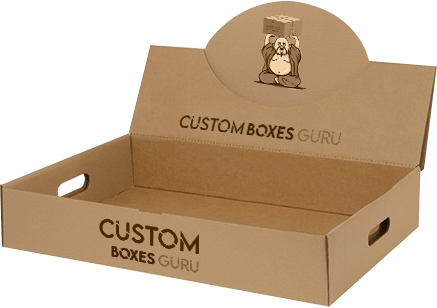
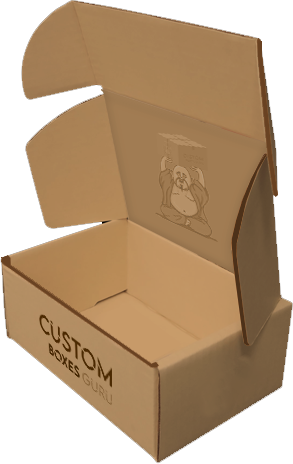
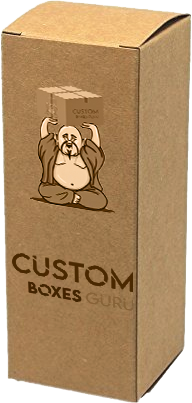
A custom box is a personalized packaging solution, designed to fit specific dimensions, shapes, and branding needs. These boxes are providing bespoke protection and presentation for products, enhancing both functionality and aesthetics.
Creating a custom box contains several steps, from designing to manufacturing. Here’s a basic guide on how to make a custom box:
Materials Needed:
- Cardboard or corrugated board
- Box cutter or scissors
- Ruler or measuring tape
- Pencil or pen
- Glue or tape
- Cutting mat (optional)
- Design software (optional for custom designs)
Steps to Make a Custom Box:
Determine the Box Dimensions:
Measure the item you want to package to determine the dimensions of your box (length, width, height).
Design the Box:
- Sketch out your box design on paper, including flaps and seams.
- Use design software if you want a more precise or complex design.
Cut the Cardboard:
- Lay the cardboard flat on a cutting mat.
- Using a ruler and pencil, mark the dimensions on the cardboard.
- Cut out the shape carefully with a box cutter or scissors.
Score the Fold Lines:
- Use the back of your box cutter or a scoring tool to lightly score the fold lines.
- This helps the cardboard fold easily and cleanly.
Fold the Box:
- Fold along the scored lines to shape the box.
- Ensure all sides and flaps are aligned properly.
Assemble the Box:
- Apply glue or tape to the flaps and assemble the box.
- Hold the flaps in place until the glue dries or use tape to secure them.
Customize the Box:
- Add any custom designs, logos, or labels to the box.
- This can be done using stickers, printed designs, or stencils.
Final Touches:
- Double-check the box for sturdiness and make any necessary adjustments.
- Your custom box is ready to use!
For a professional touch or more complex designs, consider top custom box manufacturer in USA like CustomBoxGuru.com. We offer personalized solutions for custom packaging needs, including various materials, designs, and printing options.
